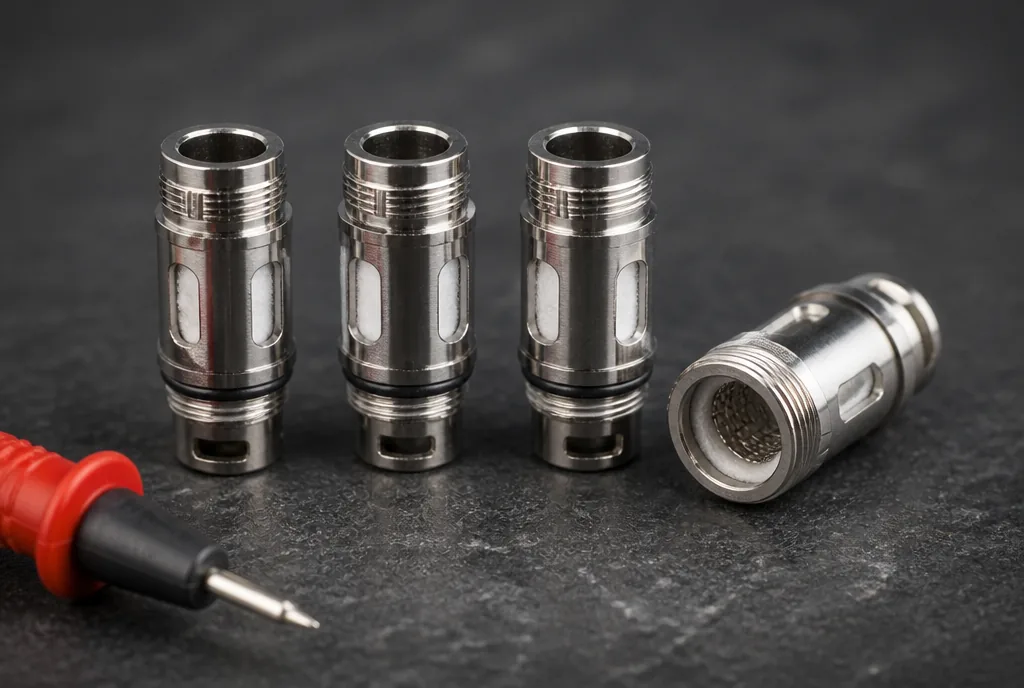
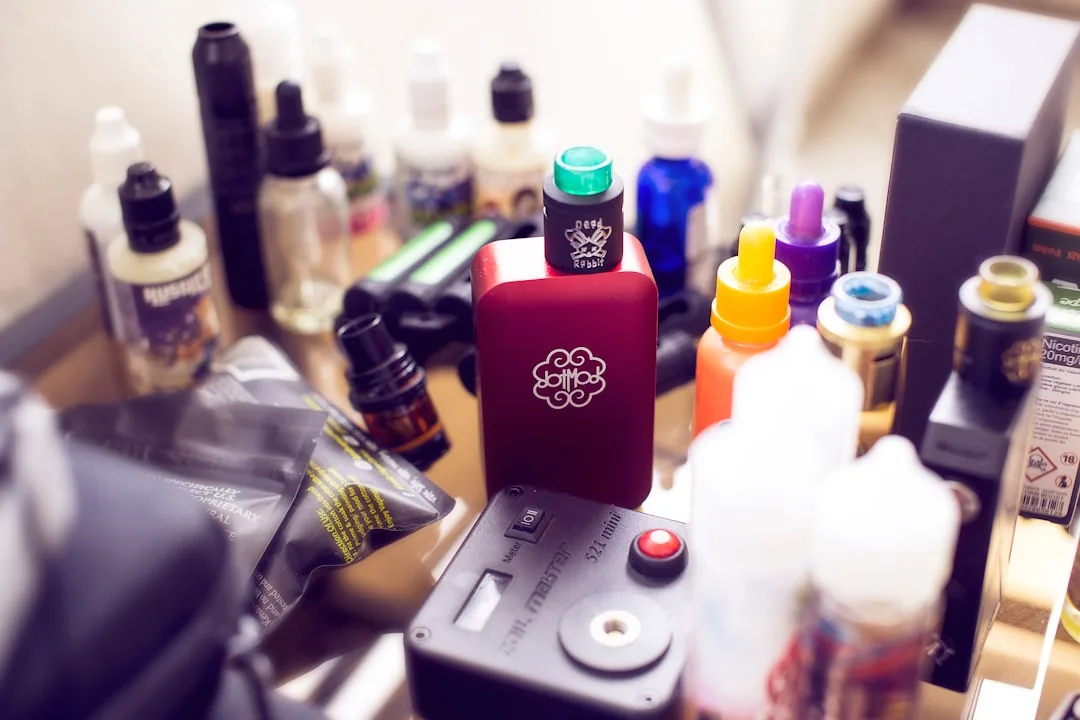
Build a coil: the step by step rebuildable guide
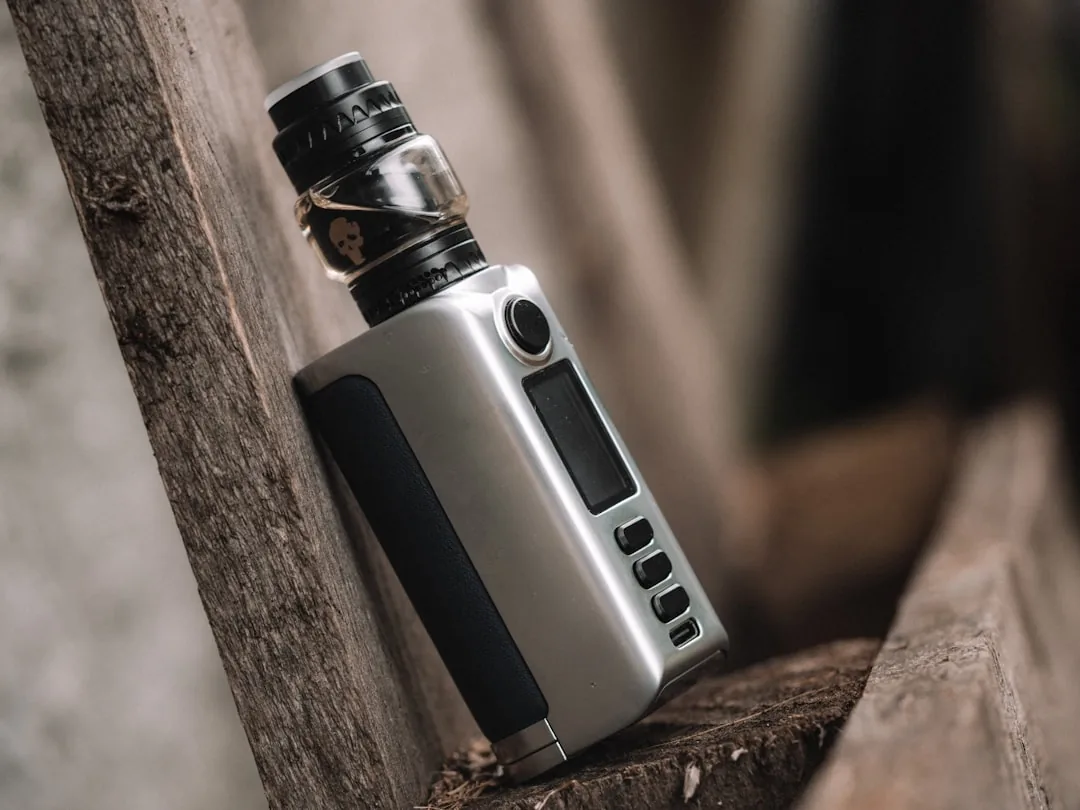
The first time you face a bare deck, two posts and a screwdriver, the scene is intimidating. Yet behind the technical aura of rebuildables sits a sequence of precise, repeatable gestures that can be learned in an evening.
The difficulty is never dexterity. It is the order of operations and the checks that must never be skipped, because one of them is the difference between a safe build and a gamble. This guide takes every stage in turn, from tightening the posts to the first draw, and treats the moment you build a coil as a routine rather than a ritual.
How to build a coil, stage by stage
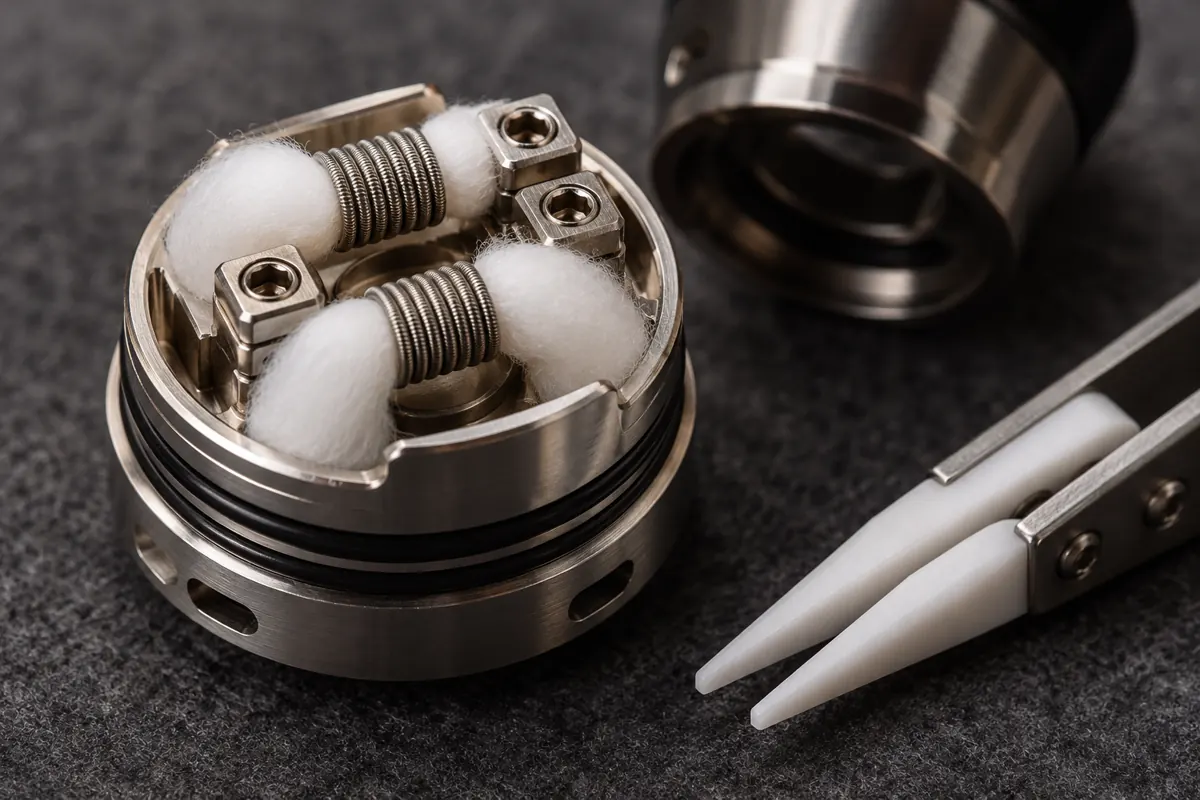
To build a coil is to clamp a wound resistance onto the posts of a deck, position it under the air intake, then wick it and prime it. The logic runs in five stages: gather the tools, fit and clamp the coil, measure it on an ohm reader, correct any hot spots, then wick it.
Each stage sets up the one after it, and none of them is optional. A coil that is beautifully fitted but never measured is still a build you should not fire, because nothing has confirmed what the device is about to see.
The sequence is the same for a ready made coil bought in a shop and for a hand wound one. The only difference sits at stage zero, since a shop coil arrives already formed while your own means winding resistance wire around a former by hand.
For a first attempt, a ready made coil removes an entire class of surprises and frees your attention for the parts that genuinely matter, the fitting and the check. Once those reflexes are in place, moving on to hand winding is one more step rather than a leap.
The tools to gather before you start
A build is prepared like a recipe, everything laid out before anything is switched on. Nothing slows a first attempt more than realising the cutters are in another room with a leg half trimmed.
The basic list fits on a corner of a table. A flat screwdriver that matches the post screws, fine flush cutters, small scissors, a former or calibrated screwdriver to wind around, wicking cotton and the coil or resistance wire itself.
To that you add the one tool that is not optional: an ohm reader, or a device that displays the resistance it has measured. Without it there is no way to validate a build safely, and no amount of care on the deck substitutes for the reading.
Fitting and clamping the coil on the deck
The coil has to sit centred, aligned and firmly clamped. A coil that moves, or that touches the chimney, ruins everything that follows, from the flavour through to the electrical safety of the whole thing.
Loosen both post screws, slide each leg into its housing, then pass a thin former through the wraps to hold the barrel straight while you tighten. Position the coil in the centre of the deck, level with the air intake, clear of the surrounding metal.
Tighten each screw firmly, because a leg that is not properly clamped falsifies the reading and heats erratically. Then trim the protruding legs flush with the posts so that nothing can fold over and touch something it should not once the cap goes back on.
Measuring and correcting before you go further
This is the stage beginners cut short, and it is precisely the one that protects them. A build is never wicked before it has been measured and cleared of hot spots, whatever the temptation to press on.
Screw the deck onto the ohm reader or the device and read the value. It should be consistent with what you intended to build and it should stay stable. A reading that jumps, sits abnormally low or triggers a warning signals a short circuit to correct first.
That measurement is also where the electrical side of the discipline comes in, since the acceptable value depends entirely on your device and your cell. The reasoning behind it is set out in our piece on Ohm’s law and battery safety, and no figure quoted online replaces reading the data sheet of the cell in your own hand.
Then pulse the coil briefly at low power. It should glow from the centre outwards, evenly. If one area lights before the others, that hot spot is closed up by gently squeezing the wraps with a ceramic tool, never with your fingers while the device is live.
Wicking without choking the fibre
The wick is the last link in the chain and the most underestimated. Too dense and it starves the coil, too loose and it floods the deck, and the right density is a compromise you feel at the moment of insertion.
Take a strand a fraction wider than the inside of the coil, roll one end to a point and feed it through the wraps. It should slide with slight resistance, without forcing and without floating.
Cut the fibre to the length of the channels on the deck, fluff the ends and lay them into the wells. Wet each tail and the coil generously, let the fibre drink for a minute, then take the first puffs at low power to finish priming. The choice of fibre deserves a chapter of its own, which is why we cover wicking cotton separately.
Single or dual when you build a coil for the first time
The question of how many coils comes up quickly, usually too quickly. One well executed coil beats two approximate ones, and the safety reasoning is not the same in the two configurations.
A single coil build is the obvious starting point. There is one resistance to fit, to measure and to correct, so half as many places for something to go wrong and half as much to inspect when it does.
A dual coil build lowers the total resistance of the assembly and raises the volume of vapour, but it demands two rigorously identical coils and a careful look at the current being drawn from the cell. Until the gesture is automatic, staying single is the sensible choice.
You move to dual once the measurement, the hot spot check and the wicking are second nature, and never before confirming that the cell can absorb the resulting value. Learning to build a coil well in single is what makes the step to dual a matter of comfort rather than a leap of faith.
Frequently asked questions
How long does a first build take?
Allow around twenty minutes for a careful first attempt, checks included. The slowness comes mainly from measuring and correcting hot spots, which becomes almost automatic after a handful of builds. A slow, verified build always beats a fast, hopeful one.
Can I reuse a coil after changing the wick?
Yes, as long as the wire is not caked with baked residue. Remove the old fibre, pulse the coil dry for a moment to burn off deposits, brush it lightly and rewick. After several cycles, if the value drifts or the flavour degrades, the coil is replaced.
Do I need a dedicated ohm reader?
Not necessarily. If your device displays the measured resistance and refuses abnormal values, it does the job. A separate reader is still more reliable for a first check, because it isolates the measurement from the regulating electronics of the device.
What resistance should I aim for on a first build?
There is no universal answer, and any figure quoted as safe would be misleading. The acceptable range depends on your device and, on an unregulated setup, on the continuous discharge rating of the exact cell you are using. Measure first, then check against that rating.
Why does my coil glow unevenly?
Either the wraps are not evenly spaced or one leg is not properly clamped. Retighten the screws, close up the wraps that have drifted with a ceramic tool and pulse again. An even glow from the centre outwards is the sign of a clean build.
Making the build a habit that lasts
Building your own coil is no feat reserved for insiders. It is an ordered sequence in which the reading on the ohm reader and the density of the fibre make all the difference between a sound build and a shaky one.
With repetition the gestures flow and leave room for the pleasure of fine tuning, which is the real reward of rebuildables. That growing confidence is also what opens the door to the wider world of atomiser formats, compared in our guide to RDA, RTA and RDTA, and it is the same care that lets you build a coil you can trust every single time.
Editorial content for adult readers only. Vaping products usually contain nicotine, a substance that causes addiction. Not for sale to under-18s in the United Kingdom. This article is not a buying recommendation.